TEL:
+86-0312-3189593
 English


Telephone:0312-3189593

Email:sales@oil-tester.com
-
 Afrikaans
 -
 Albanian
 -
 Amharic
 -
 Arabic
 -
 Armenian
 -
 Azerbaijani
 -
 Basque
 -
 Belarusian
 -
 Bengali
 -
 Bosnian
 -
 Bulgarian
 -
 Catalan
 -
 Cebuano
 -
 China
China -
") China (Taiwan)
China (Taiwan) -
 Corsican
 -
 Croatian
 -
 Czech
Czech -
 Danish
 -
 Dutch
Dutch -
 English
 -
 Esperanto
 -
 Estonian
 -
 Finnish
 -
 French
 -
 Frisian
 -
 Galician
 -
 Georgian
 -
 German
 -
 Greek
Greek -
 Gujarati
 -
 Haitian Creole
 -
 hausa
hausa -
 hawaiian
 -
 Hebrew
 -
 Hindi
Hindi -
 Miao
Miao -
 Hungarian
 -
 Icelandic
 -
 igbo
igbo -
 Indonesian
 -
 irish
irish -
 Italian
 -
 Japanese
 -
 Javanese
 -
 Kannada
 -
 kazakh
 -
 Khmer
Khmer -
 Rwandese
 -
 Korean
 -
 Kurdish
 -
 Kyrgyz
 -
 Lao
Lao -
 Latin
Latin -
 Latvian
 -
 Lithuanian
 -
 Luxembourgish
 -
 Macedonian
 -
 Malgashi
 -
 Malay
Malay -
 Malayalam
 -
 Maltese
 -
 Maori
Maori -
 Marathi
 -
 Mongolian
 -
 Myanmar
 -
 Nepali
 -
 Norwegian
 -
 Norwegian
 -
 Occitan
 -
 Pashto
 -
 Persian
 -
 Polish
 -
 Portuguese
 -
 Punjabi
 -
 Romanian
 -
 Russian
 -
 Samoan
 -
 Scottish Gaelic
 -
 Serbian
 -
 Sesotho
 -
 Shona
Shona -
 Sindhi
 -
 Sinhala
 -
 Slovak
 -
 Slovenian
 -
 Somali
 -
 Spanish
 -
 Sundanese
 -
 Swahili
 -
 Swedish
 -
 Tagalog
 -
 Tajik
Tajik -
 Tamil
Tamil -
 Tatar
Tatar -
 Telugu
 -
 Thai
Thai -
 Turkish
 -
 Turkmen
 -
 Ukrainian
 -
 Urdu
Urdu -
 Uighur
 -
 Uzbek
Uzbek -
 Vietnamese
 -
 Welsh
Welsh -
 Bantu
Bantu -
 Yiddish
 -
 Yoruba
 -
 Zulu
Zulu
Feb . 13, 2025 17:29
Back to list
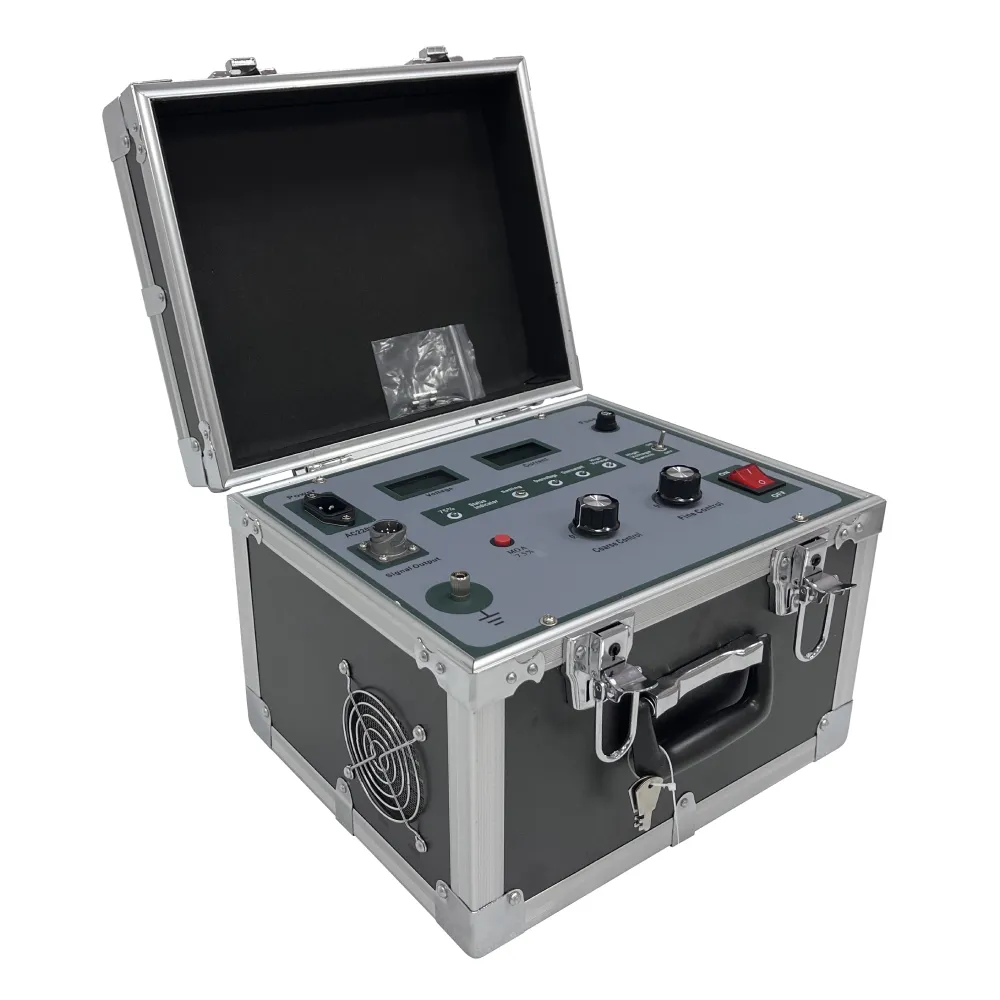
PUSH electric astm d92 open cup flash point tester Silicon nitride ignition head
Testing a 24V transformer is an essential task for ensuring the safety, functionality, and efficiency of electrical systems. As transformers play a critical role in converting voltages to meet the requirements of various electrical devices, it is imperative that they are operating correctly. This guide offers a step-by-step approach to testing a 24V transformer, enhancing your understanding and expertise in managing electrical components.
Step 5 Testing Input and Output Voltages With the multimeter set to measure AC voltage, test the transformer's input terminals. Connect the probes to the appropriate terminals and ensure the reading aligns with the specified input voltage of the transformer. Subsequently, conduct the same test on the output terminals to verify that the transformer is correctly stepping down or stepping up the voltage as per its designed output rating. Step 6 Checking for Continuity Switch the multimeter to the continuity setting to test the transformer's windings for any open circuits. This involves connecting the multimeter leads to the ends of each winding. A continuous beep or nominal resistance reading indicates that the winding is intact. A lack of continuity, however, signals an internal fault that necessitates repair or replacement. Step 7 Load Testing (Optional) For a more comprehensive assessment, perform a load test. This involves connecting the transformer to its typical load and measuring its performance under operation. Ensure that it delivers the required output voltage consistently, indicating its ability to handle its intended operational loads effectively. Step 8 Documenting Results and Maintenance Finally, document all test results for future reference. Recording your findings helps track transformer performance over time and assists in diagnosing recurring issues. Regular maintenance checks should also be part of your routine, ensuring prolonged efficiency and safety of the transformer's operation. By following these detailed steps, you can effectively test a 24V transformer, ensuring it meets operational standards and functions reliably within your electrical system. This expertise not only guards against potential electrical hazards but also enhances the lifespan and performance of your electrical components.

Step 5 Testing Input and Output Voltages With the multimeter set to measure AC voltage, test the transformer's input terminals. Connect the probes to the appropriate terminals and ensure the reading aligns with the specified input voltage of the transformer. Subsequently, conduct the same test on the output terminals to verify that the transformer is correctly stepping down or stepping up the voltage as per its designed output rating. Step 6 Checking for Continuity Switch the multimeter to the continuity setting to test the transformer's windings for any open circuits. This involves connecting the multimeter leads to the ends of each winding. A continuous beep or nominal resistance reading indicates that the winding is intact. A lack of continuity, however, signals an internal fault that necessitates repair or replacement. Step 7 Load Testing (Optional) For a more comprehensive assessment, perform a load test. This involves connecting the transformer to its typical load and measuring its performance under operation. Ensure that it delivers the required output voltage consistently, indicating its ability to handle its intended operational loads effectively. Step 8 Documenting Results and Maintenance Finally, document all test results for future reference. Recording your findings helps track transformer performance over time and assists in diagnosing recurring issues. Regular maintenance checks should also be part of your routine, ensuring prolonged efficiency and safety of the transformer's operation. By following these detailed steps, you can effectively test a 24V transformer, ensuring it meets operational standards and functions reliably within your electrical system. This expertise not only guards against potential electrical hazards but also enhances the lifespan and performance of your electrical components.
Latest news
-
Testing Equipment Industry Sees Major Advancements in 2025: Smart & Precision Technologies Lead the WayNewsJun.06,2025
-
Applications of Direct Current Generators in Renewable Energy SystemsNewsJun.05,2025
-
Hipot Tester Calibration and Accuracy GuidelinesNewsJun.05,2025
-
Digital Circuit Breaker Analyzer Features and BenefitsNewsJun.05,2025
-
Benefits of Real-Time Power Quality Monitoring Devices for Industrial EfficiencyNewsJun.05,2025
-
Earth Fault Loop Testing in High-Rise Building Electrical SystemsNewsJun.05,2025


